Cards
Cards display content and actions about a single subject.
Overview · Specs · Guidelines · Accessibility
Usage
Use a card to display content and actions on a single topic.
Cards should be easy to scan for relevant and actionable information.
Elements like text and images should be placed on cards in a way that clearly indicates hierarchy.

Cards can display content and actions on a single topic
Cards can serve as entry points into deeper levels of detail or navigation, such as a music album or details on an upcoming vacation.
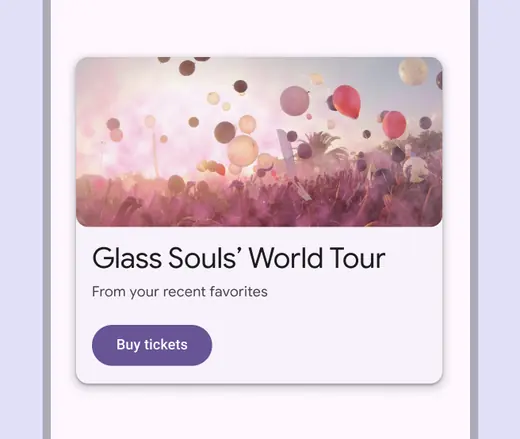
Card text and image show a clear hierarchy
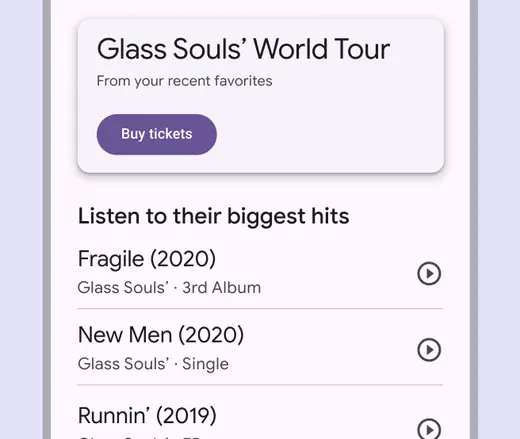
Use cards to display related information on a single subject
Cards can be displayed together in a grid, vertical list, or carousel.
Do
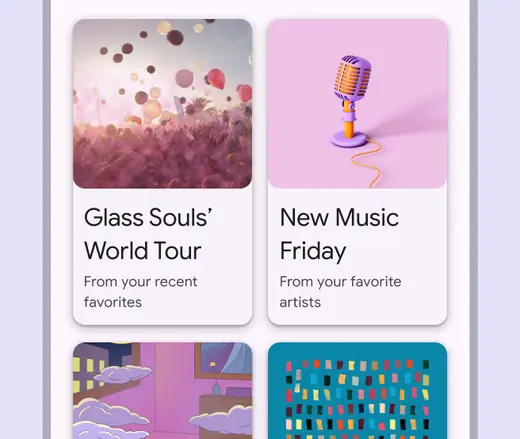
Cards can be shown together
Don't
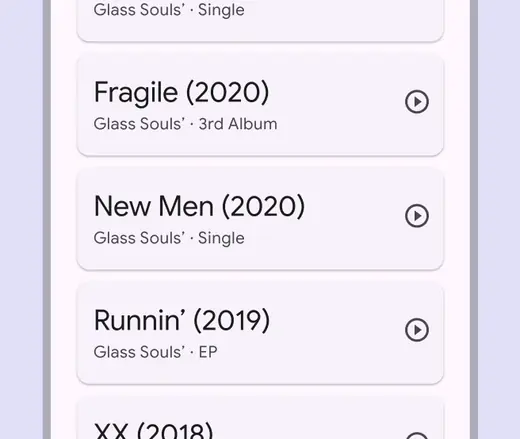
Don't force content into cards when spacing, headlines, or dividers would create a simpler visual hierarchy
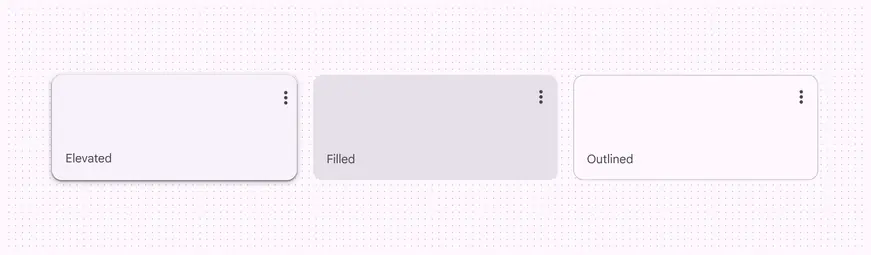
There are three card variants:
- Elevated
- Filled
- Outlined
Each provides the same legibility and functionality, so the variant you use depends on style alone.
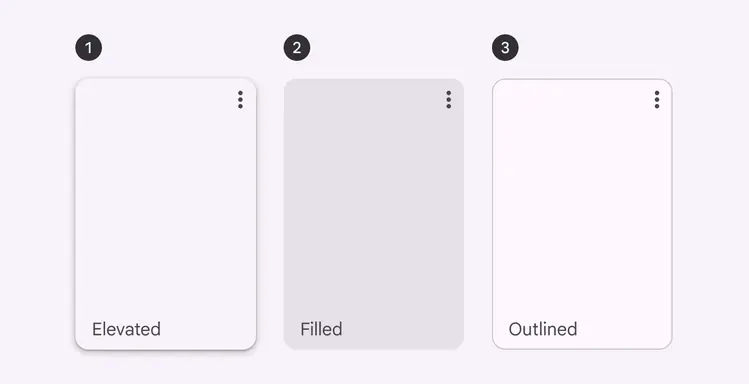
- Elevated card
- Filled card
- Outlined card
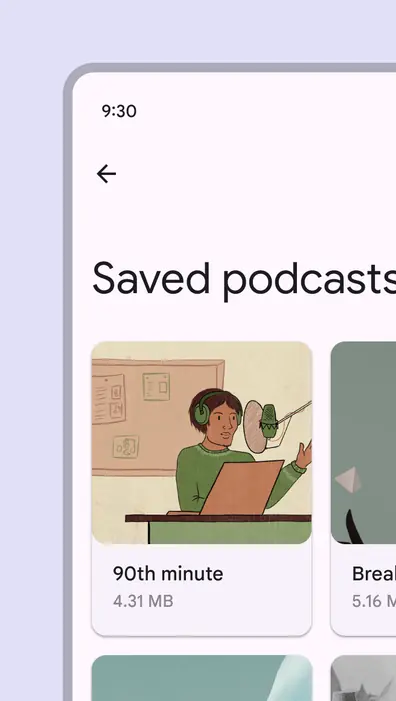
Elevated cards have a drop shadow, providing more separation from the background than filled cards, but less than outlined cards
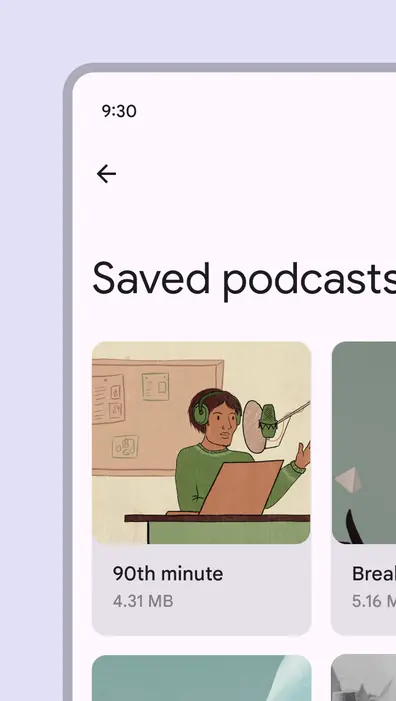
Filled cards provide subtle separation from the background. This has less emphasis than elevated or outlined cards.
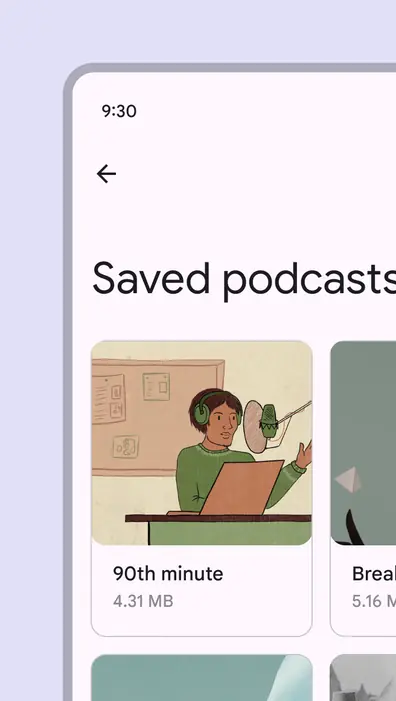
Outlined cards have a visual boundary around the container. This can provide greater emphasis than the other variants.
Anatomy
The card container is the only required element in a card. Card layouts can vary to support the kinds of content they contain. Below is a common configuration of elements.
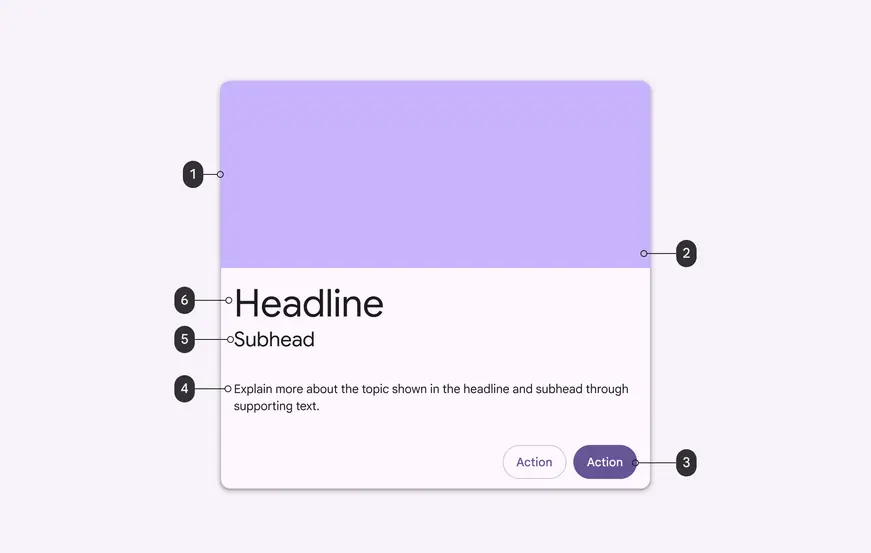
- Container
- Image
- Button
- Supporting text
- Subhead
- Headline
Container
Card containers hold all card elements. Their size is determined by the space those elements occupy. Card elevation is expressed by the container.
The card container is the only required element of a card. All other elements are optional.
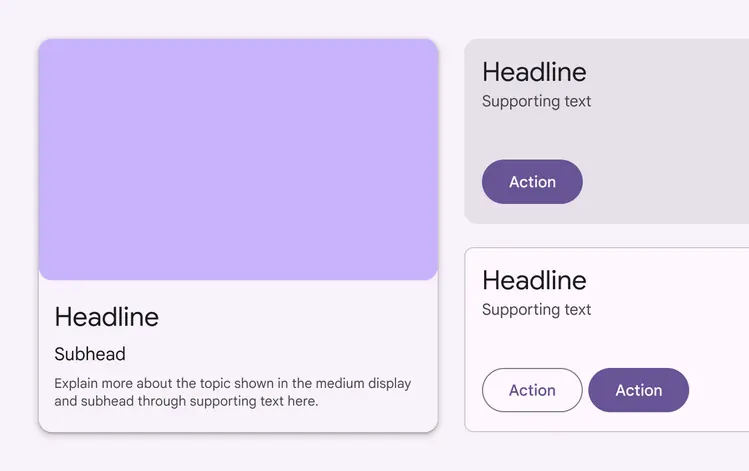
Card size is determined by the elements it contains
Content blocks
Card contents are grouped into blocks. Content can have different levels of visual emphasis depending on importance.
Card layouts vary to support the kinds of content they contain.
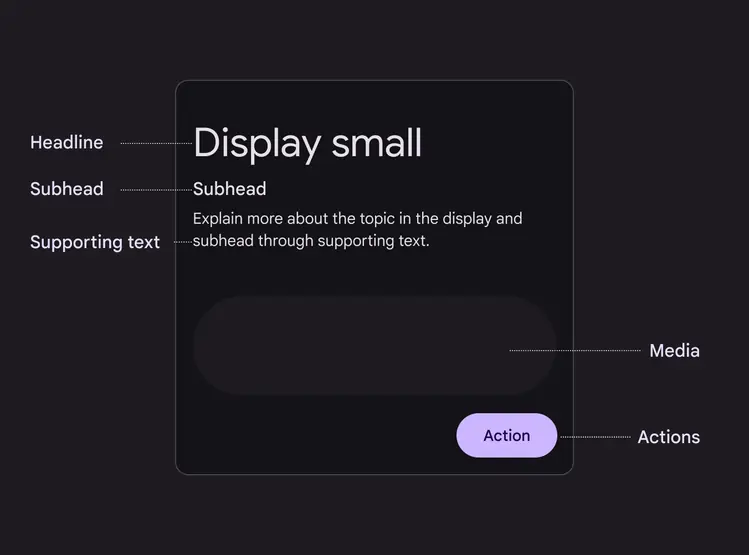
Cards can contain a headline, subhead, supporting text, media, and actions
Dividers
Dividers can separate regions in cards or indicate areas of a card that can expand.
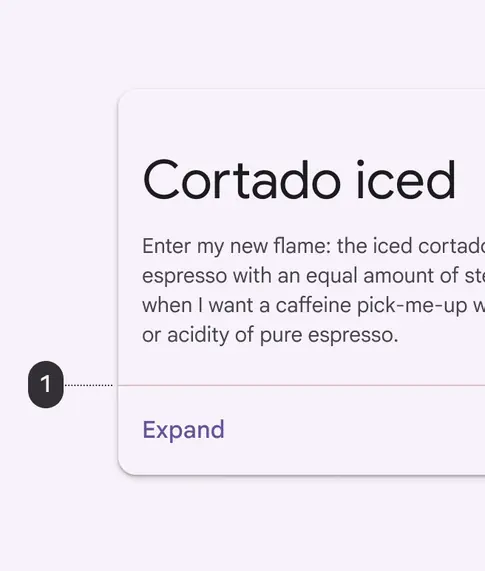
1. Use full-width dividers for content that can be expanded
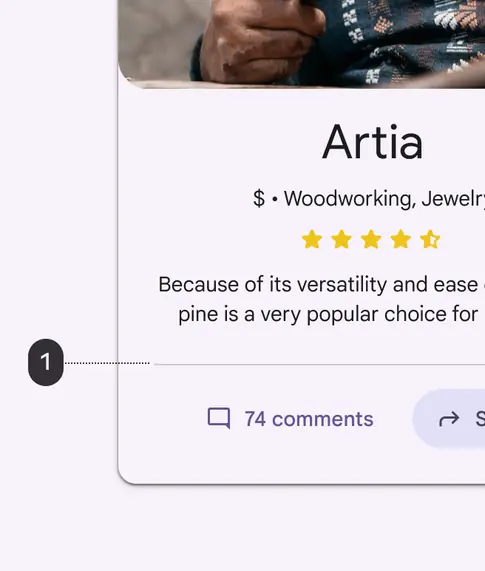
1. Use inset dividers, which don’t run the full width of a card, to separate related content
Media
Thumbnail
Cards can include thumbnails for an avatar or logo.
Image
Cards can include photos, illustrations, and other graphics, such as weather icons.
Video
Cards can include video.
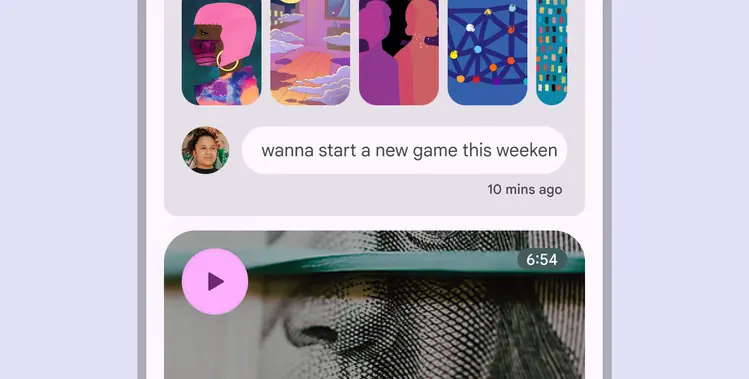
Cards can contain thumbnails, images, and video
Text
Headline
Headline text often communicates the subject of the card, such as the name of a photo album or article.
Subhead
Subheads are smaller text elements, such as an article byline or a tagged location.
Supporting text
Supporting text includes body content, such as an article summary or a restaurant description.
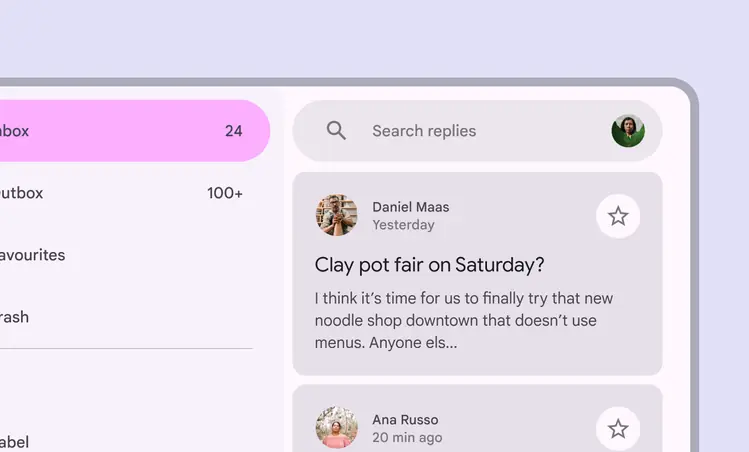
Headline, subhead, and supporting text in a card
Layering text, icons, and images
It isn’t recommended to place text or icons on images. If it’s necessary, ensure the background image provides sufficient contrast for the text to meet accessibility standards.
Add a translucent scrim or bounding shape beneath the text or icon to help ensure proper contrast.
Caution

Ensure that text on images meets accessible contrast standards
Caution
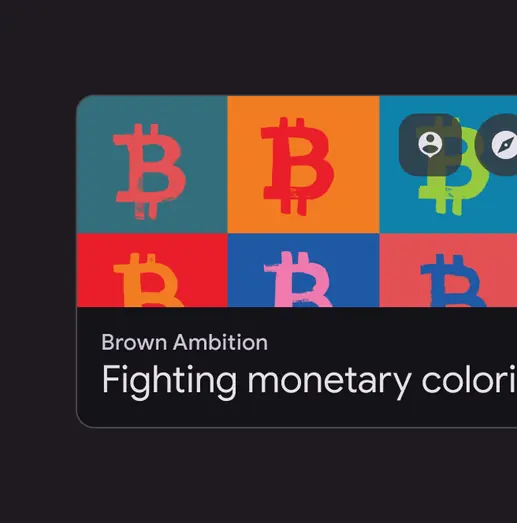
When placing text or icons on images, consider using a bounding shape to ensure proper contrast
Actions
Primary action area
Cards can be one large touch target triggering an expanded detail screen.
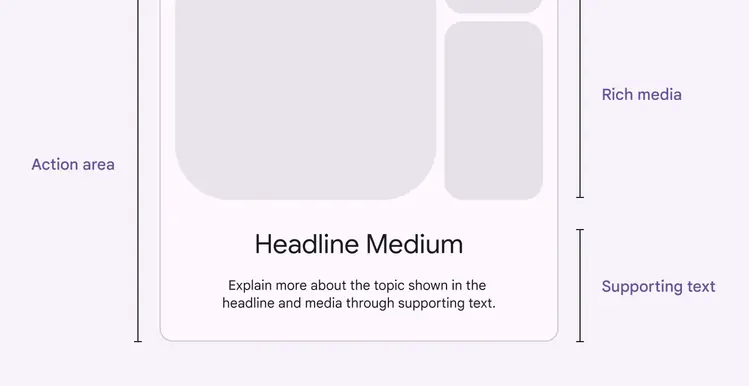
Cards can include a primary action area that expands into a full-screen view
Buttons
Cards can include buttons for actions such as Learn more or Add to cart.
Icon buttons
Cards can include icon buttons for actions such as Save, Heart, or Leave a 4-star review.
Selection controls
Cards can also include chips, sliders, checkboxes, and other selection controls.
Linked text
There can be a link in the supporting text on a card.
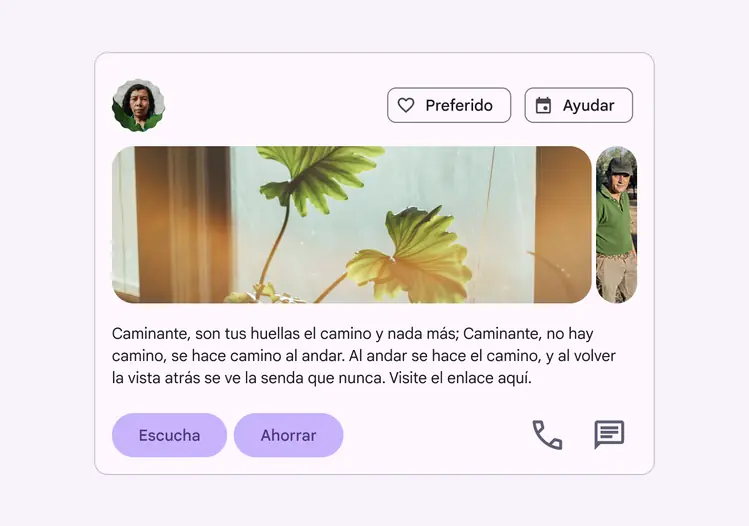
Cards can include multiple action areas containing buttons, links, and other controls

Cards can contain icon buttons like stars to rate content
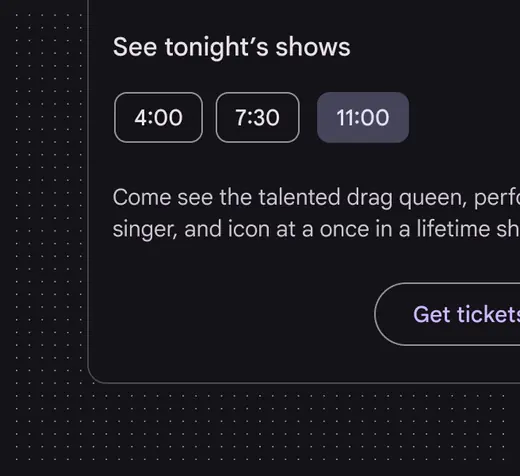
Cards can contain choice chips in the action area
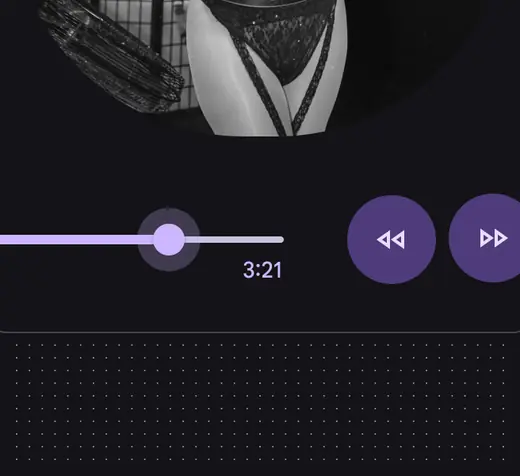
Cards can contain a slider control in the action area
Overflow menu
Overflow menus contain related actions. They are typically placed in the upper-right or lower-right corner of a card.
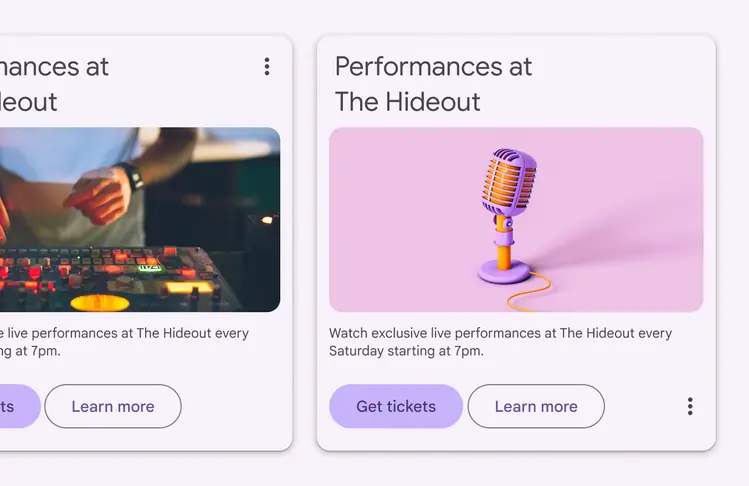
Overflow menus are usually located in the upper-right or lower-right corner of a card
Cards in a collection
Multiple cards can be grouped together into collections displayed in a grid, list, or carousel.
By default, cards in a collection are coplanar. They share the same resting elevation unless they're picked up or dragged.
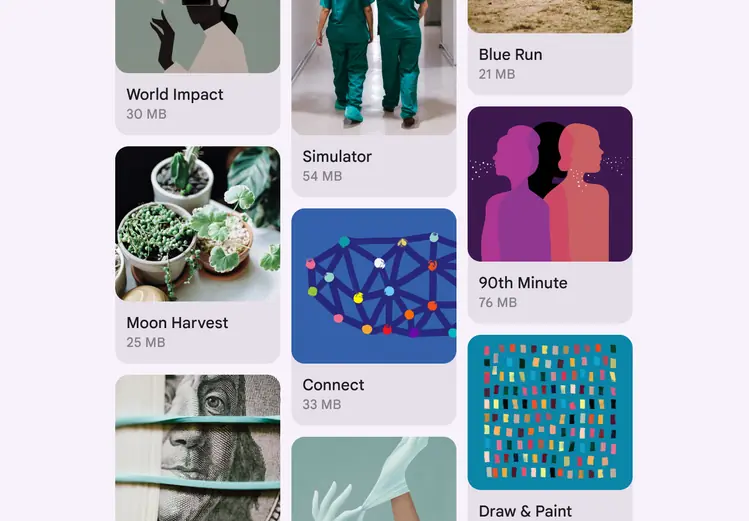
Multiple cards can be grouped into collections with a shared resting elevation
Filtering and sorting
Card collections can be filtered in a variety of ways, including by date or alphabetical order. If a collection can be filtered, the filter must apply to each card in the collection.
Filter or sorting options should be placed outside of the card collection.
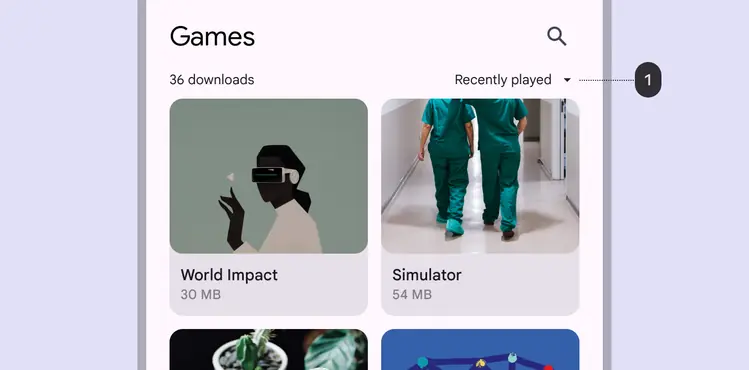
Card collections can be filtered in a variety of ways, including by date:
1. A sort-by-date option is placed outside of the card collection
Organize card collections so that they'e easy to use. Their layout affects how they are perceived.
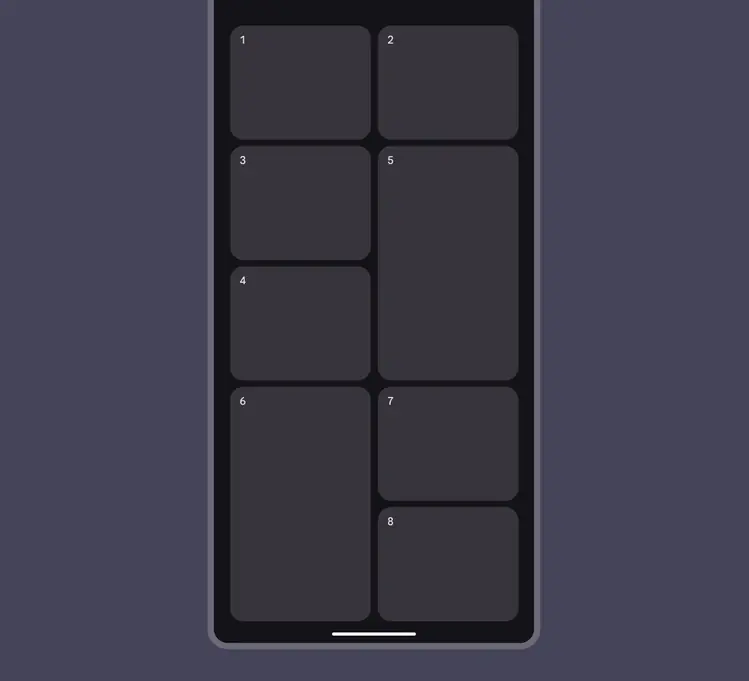
Place cards in a collection in a straightforward, easy-to-use manner
Grid
Cards can be displayed together in a grid.
Cards displayed in a grid
The default grid can be customized in code to show cards in staggered or mosaic grids.
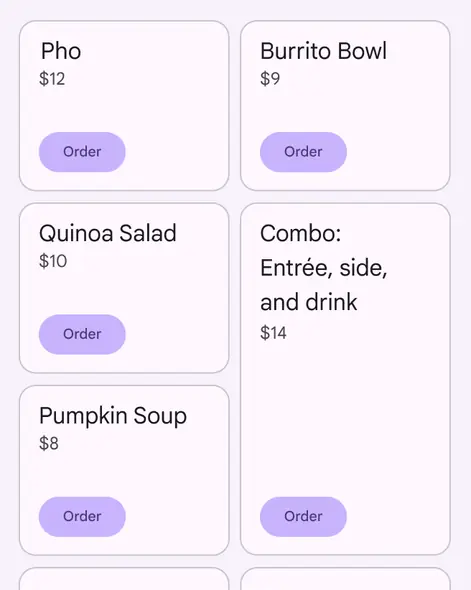
Custom mosaic grid
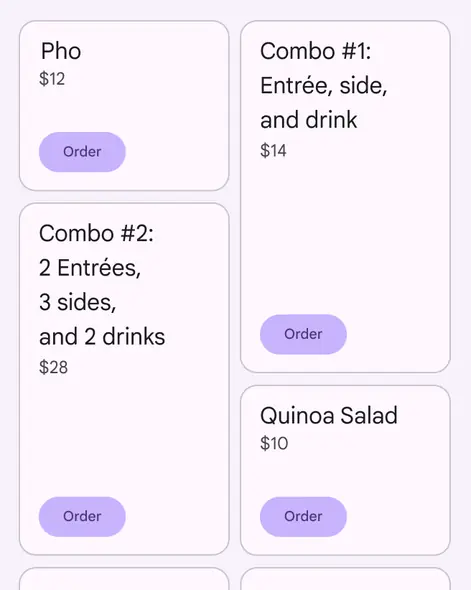
Custom staggered grid
Vertical list
Cards can be displayed together in a vertical list.
Cards can be shown in a vertical list
Carousel
Cards can be displayed together in a horizontal row or carousel.
Cards displayed together in a horizontal row or carousel
Adaptive design
As cards scale to adapt to different breakpoints, their position and alignment can also change.
Cards and their elements can align left, right, or center as the layout scales.
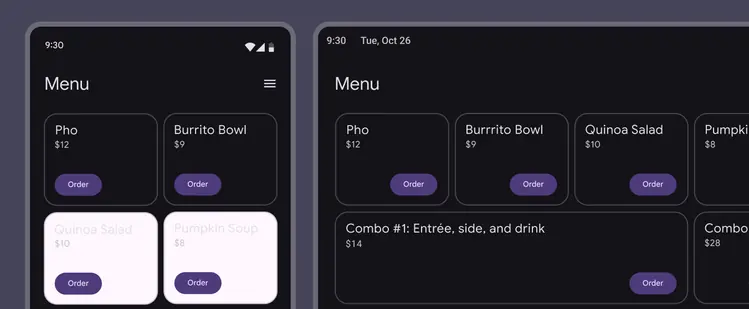
Card position and alignment changes as the screen size changes
Ergonomics
Adjust the layout of cards to meet the ergonomic needs of large screens.
For example, a horizontally-oriented card in a compact breakpoint may become a larger, vertically-oriented card in an expanded breakpoint, with more space for images and text on the larger screen.
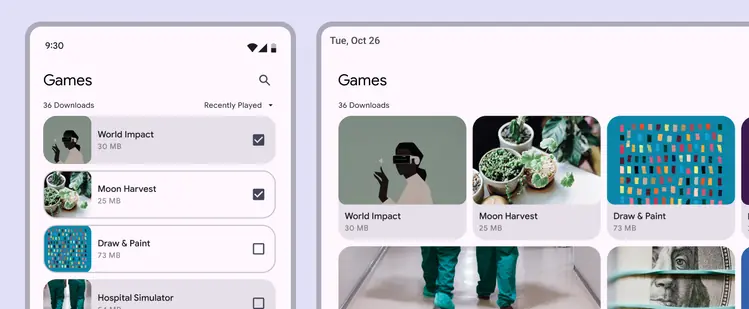
Adjust the card layout so content remains the main focus on large screens
Visual presentation
To adjust the presentation of content-focused components, begin with spacing.
Allow components like lists, cards, and images to optimize space while filling the region of a screen that suits a device breakpoint’s ergonomic needs.
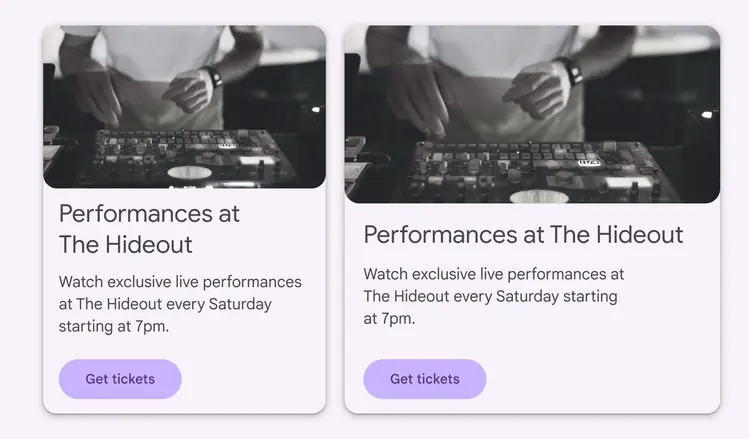
Spacing adjusts for components such as cards, lists, and images
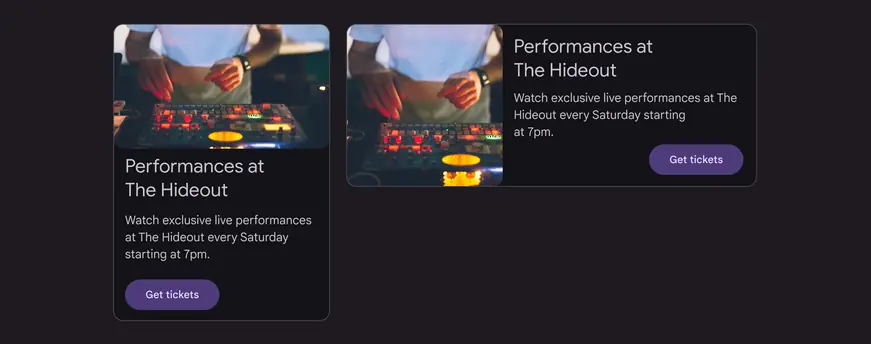
Example of the same card with two different orientations and element positioning
Column-based layouts
In mobile layouts, components such as lists or cards are stretched to fit the full width of the screen without compromising visual quality or user experience. When designing for large screens with an expanded breakpoint, use multiple columns to display content.
Avoid extending UI elements across the screen when possible. On larger screens, rearrange groups of related cards into horizontal rows or carousels, to allow for better content organization.
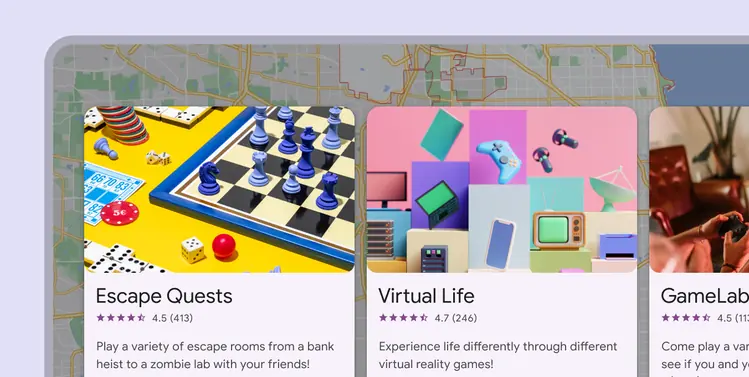
When designing for large screens, use multiple columns to display content
Small screens
On smaller screens with the compact breakpoint, consider swapping cards for lists, which can display images and text in a more compact form.
Make sure that controls, actions, and other component-specific elements are maintained.
Certain devices or user contexts require different components to meet platform expectations
Behavior
Expanding
Cards can use a container transform transition pattern to reveal additional content. Reserve this pattern for hero moments that are meant to be expressive.
A card expands to fill the full screen using a parent-child transition
Do
Expand a card to reveal information
Don't
Don’t scroll within a card to reveal information
Navigation
Cards can use a forward and backward transition pattern to navigate between screens at consecutive levels of hierarchy. This pattern has a simpler motion style compared to container transform, which makes it suitable for common navigation transitions.
Cards can use a forward and backward transition pattern to navigate between screens
Gestures
Swipe
A swipe gesture can be performed on a single card at a time, anywhere on that card.
It can be used to:
- Dismiss a card
- Change the state of a card, such as flagging or archiving it
Do
A card should only have one swipe action assigned to it
Don't
Cards shouldn’t contain content that can be swiped, such as an image carousel or pagination. Also, swipe gestures shouldn’t cause portions of cards to detach upon swiping.
Pick up & move
The pick-up-and-move gesture allows users to move and reorder cards in a collection.
Do
When moving a card, increase its elevation
Don't
Don’t let cards bump other elements out of the way. When a card is picked up, it appears in front of all elements, except app bars and navigation.
Scrolling
Card content that’s taller than the maximum card height is truncated and doesn’t scroll, but can be displayed by expanding the height of a card.
A card can expand beyond the maximum height of the screen, in which case the card scrolls within the screen.
Do
On a mobile device, cards can expand to reveal more content, scrolling within the screen. Content within cards doesn’t scroll.
Don't
On a mobile device, cards can't internally scroll, as it could cause two scroll bars to be displayed
Scrolling on desktop
On a desktop device, card content can expand and scroll within a card.
On a desktop, content can expand and scroll within a card