Buttons
Buttons help people take action, such as sending an email, sharing a document, or liking a comment. Common buttons prompt most actions in a UI.
Overview · Specs · Guidelines · Accessibility
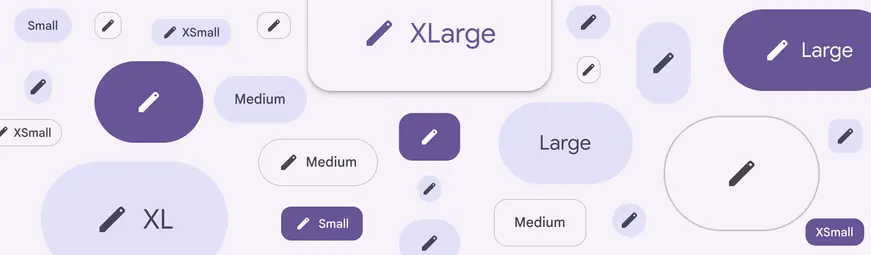
Buttons and icon buttons come in many shapes, styles, and sizes
Usage
Buttons communicate actions that people can take. They are typically placed throughout the UI, in places like:
They can also be placed within standard button groups.
Use visually-prominent filled buttons for the most important actions
Buttons are just one option for representing actions in a product and shouldn’t be overused. Too many buttons on a screen can disrupt the visual hierarchy.
Consider placing additional actions in a navigation rail, set of chips, text links, or icon buttons.
Do
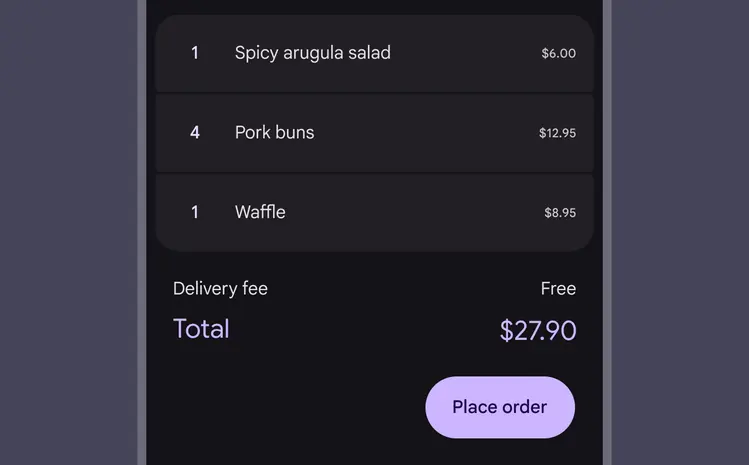
Use buttons for discrete actions
Don't
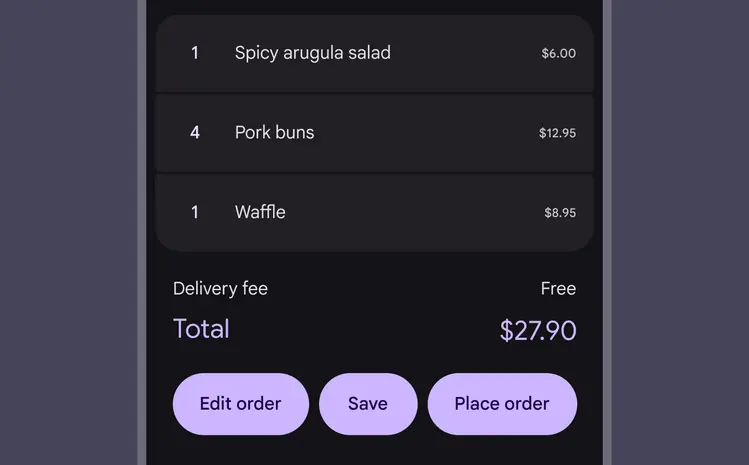
Don’t clutter your UI with too many buttons. Consider presenting low-priority actions in overflow menus or as icon buttons.
Do
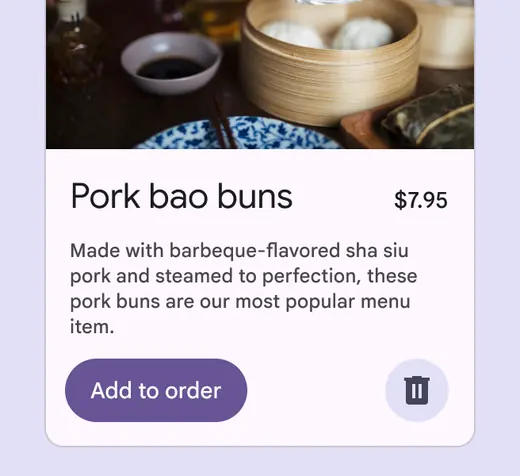
A button container’s width is dynamically set to fit its label text
Do
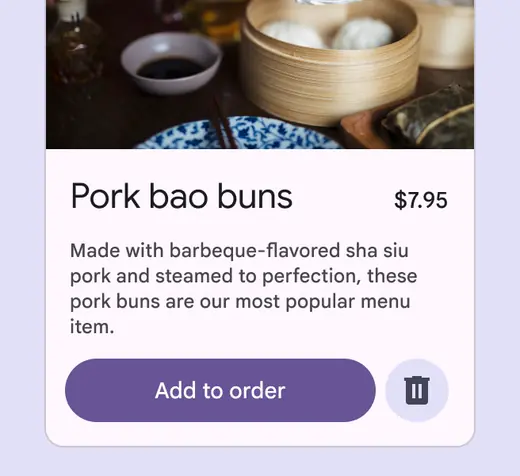
Button container width can be responsive, which allows it to stretch horizontally
Don't
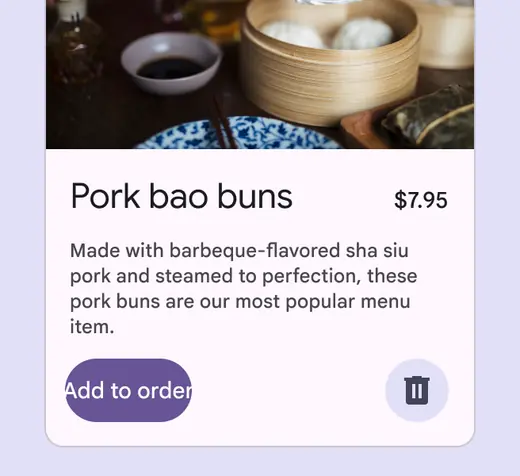
A button container’s width shouldn’t be narrower than its label text
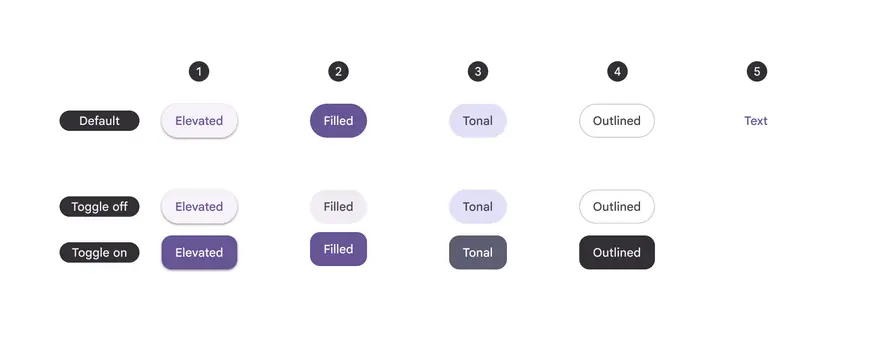
A: Default button; B: Toggle (unselected); C: Toggle (selected) for five button styles, in order of emphasis:
- Elevated button
- Filled button
- Filled tonal button
- Outlined button
- Text button
A button group is a collection of buttons that relate to each other and can respond to one another. Both buttons and icon buttons can be used inside a button group.
In some cases, there are primary and secondary actions within a button group. Buttons with primary actions should have a higher visual emphasis through size, color, or shape.
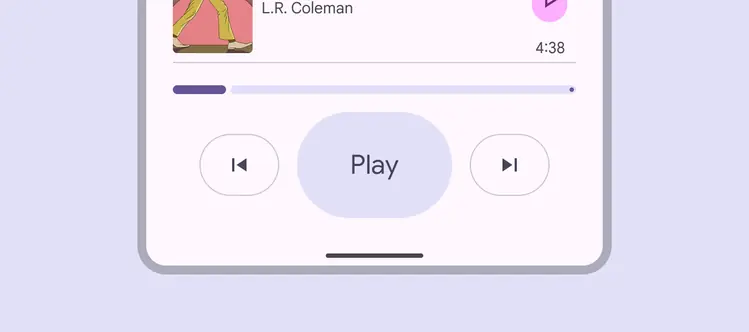
Different sized buttons in a button group help emphasize the main action from secondary actions
Toggle buttons
Toggle buttons should be used for binary selections, such as Save or Favorite. When toggle buttons are pressed, they can change color, shape, and labels.
Toggle buttons should use an outlined icon when unselected, and a filled version of the icon when selected. If a filled version doesn’t exist, increase the weight instead.
By default, toggle buttons change from round to square when selected.
Use toggle buttons for binary actions
If the label changes on selected or unselected states, be mindful of the character count. Changing the label significantly is disruptive to the user and the page layout.
Do
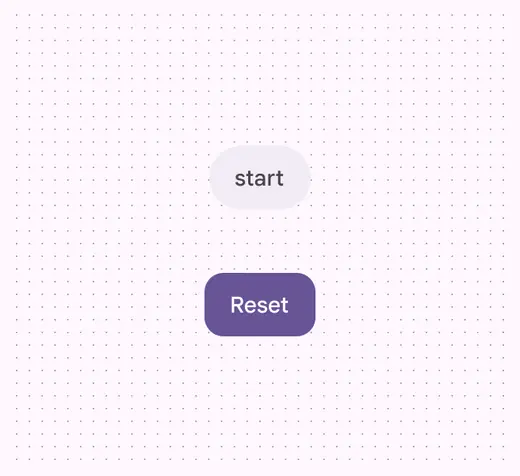
When using toggleable buttons, keep the label character count a similar length for both states
Don't
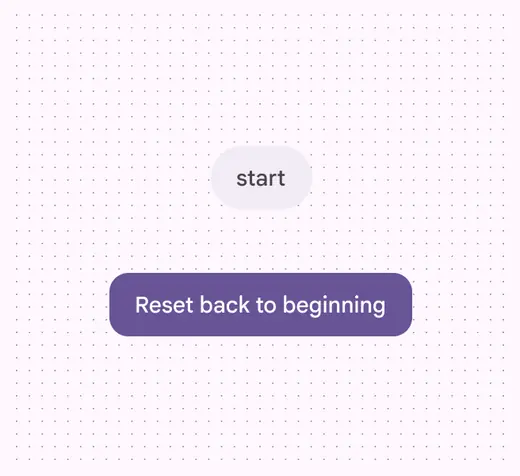
The label length shouldn’t change dramatically to be longer or shorter
Anatomy
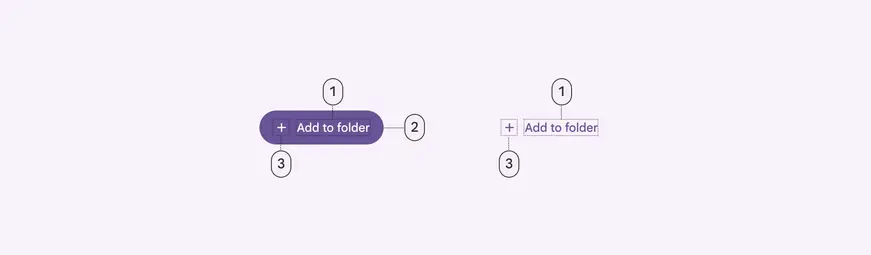
- Label text
- Container
- Icon (optional)
Label text
Label text is the most important element of a button. It describes the action that will occur if someone taps a button. It should be very brief, ideally 1–3 words.
Use sentence case, which only capitalizes the first word and proper nouns. This allows the text to distinguish proper nouns, for example: Book with Flights, not BOOK WITH FLIGHTS.
Don’t truncate or wrap label text. It should always be fully visible on a single line.
Do
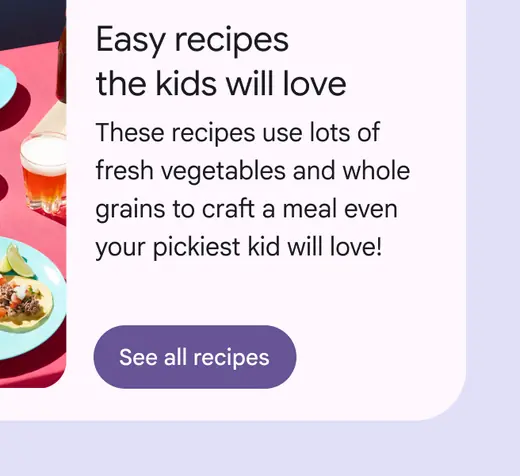
Use sentence case for button label text, capitalizing the first word and proper nouns
Don't
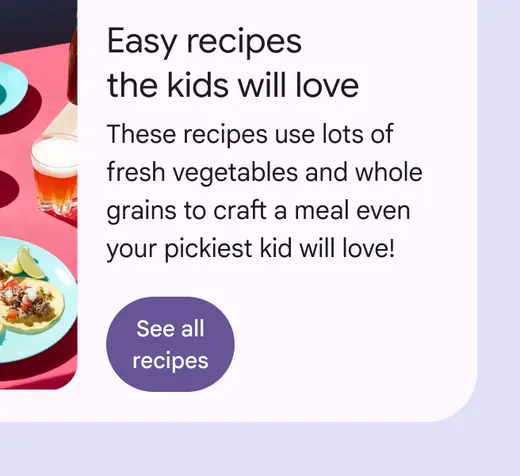
Don’t wrap text. For maximum legibility, label text should remain on a single line.
Buttons with the outlined and text color style depend on the colors to be recognizable from other text and elements. Use caution when putting these buttons next to visually similar elements, such as chips or large text.
Caution
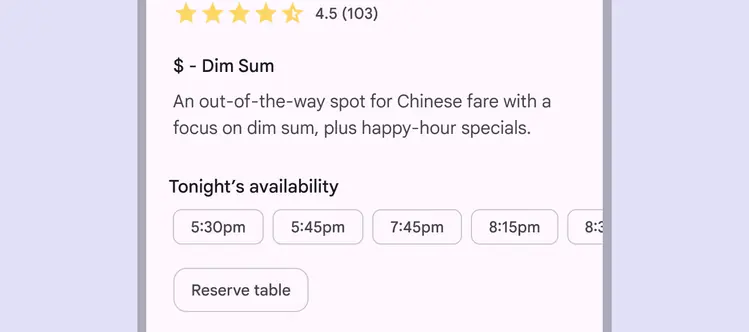
The outlined button style is very similar to chips. Consider using a filled or tonal button instead.
Container
Button containers hold the label text and optional icon. Buttons with the text color style have a visible container only when hovered, focused, or pressed.
Buttons with a round shape have containers with fully rounded corners.
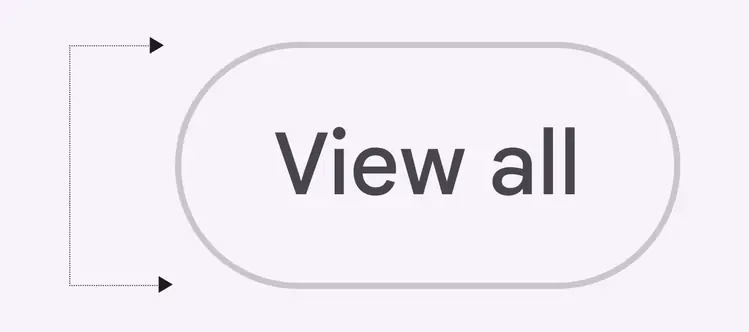
Round buttons have containers with fully rounded corners
Buttons with a square shape have containers with more subtle rounding that changes based on button size.
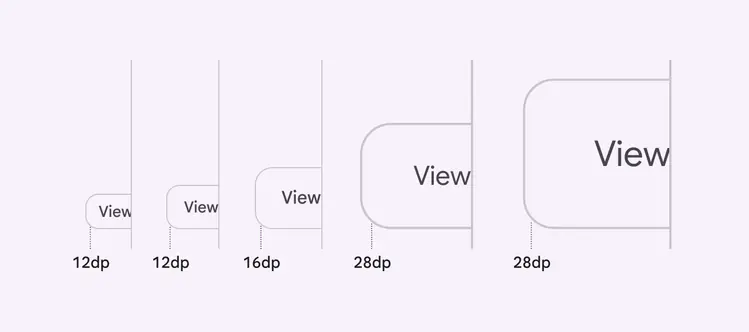
Square buttons have square containers and change radius as the button size changes
Do
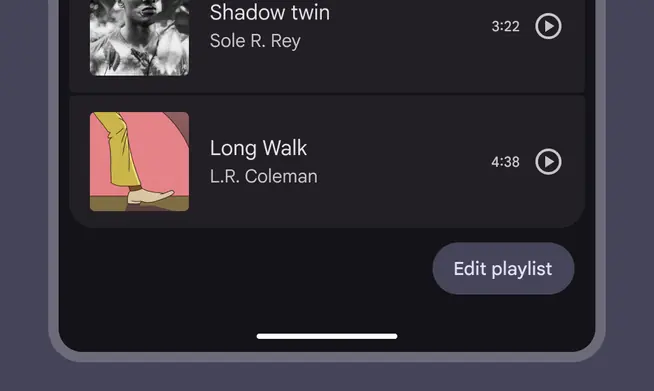
A button’s width dynamically adjusts to the label text
Don't
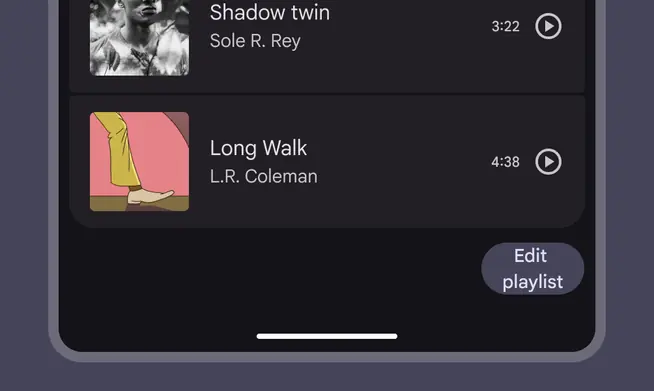
Avoid setting a fixed width smaller than the label text
Icon (optional)
Icons visually communicate the button’s action and help draw attention. They should be placed on the leading side of the button, before the label text.
Do
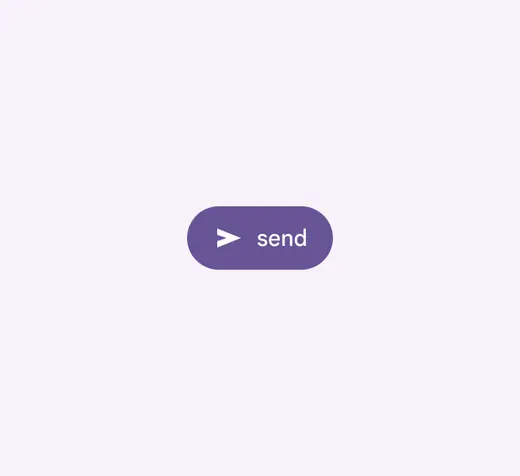
Place the icon to the left of the label in buttons with text in left-to-right languages
Do
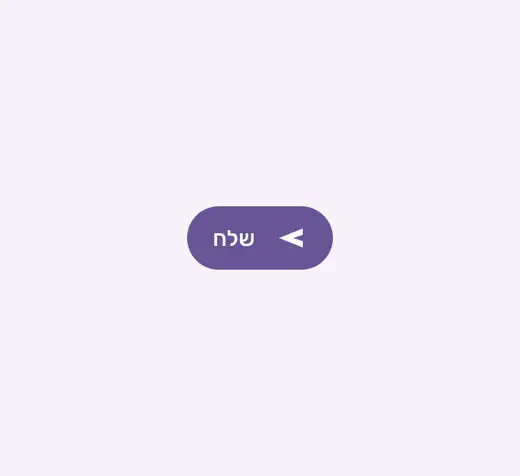
Place the icon to the right of the label in buttons with text in right-to-left languages
Do
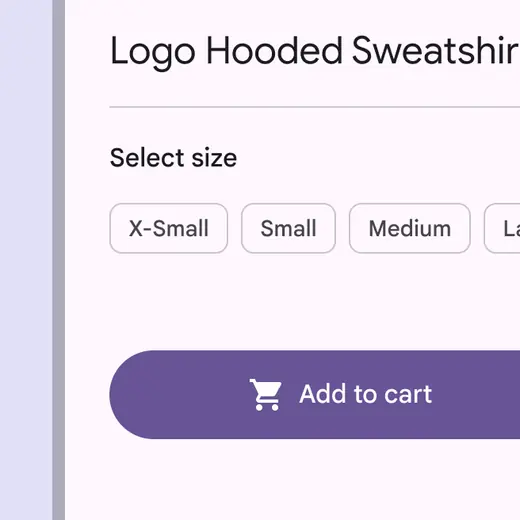
Use icons that clearly communicate their meaning
Don't
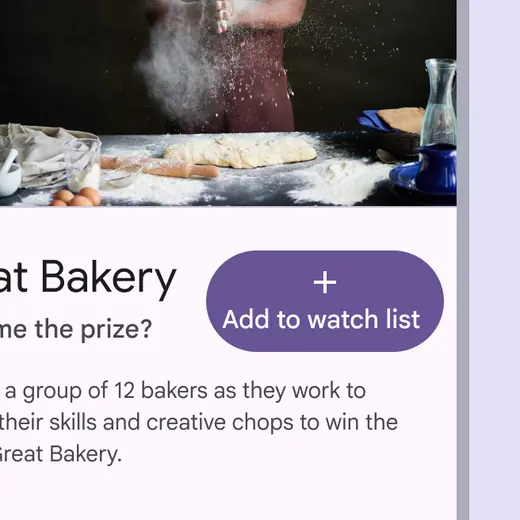
Don’t vertically align an icon and text in the center of a button
Don't
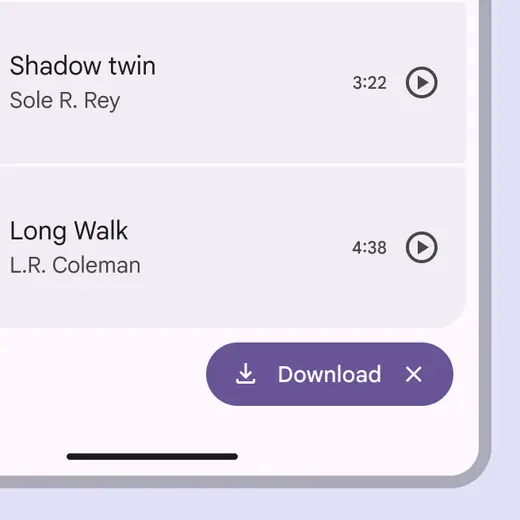
Don’t use two icons in the same button
Color styles
Elevated style
The elevated button style is the same as the tonal button, but with a shadow.
To avoid overusing shadows, use the elevated style only when absolutely necessary, such as when the button requires visual separation from a visually prominent background.
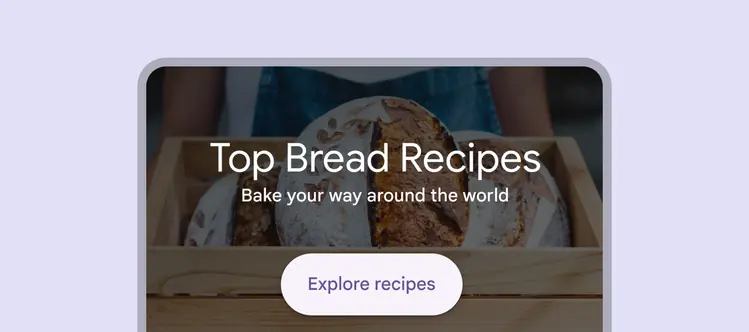
Elevated buttons provide separation from a visually prominent background
Buttons at higher elevations typically have more emphasis in a design, and should be used sparingly. For high emphasis, consider the filled style instead.
Caution
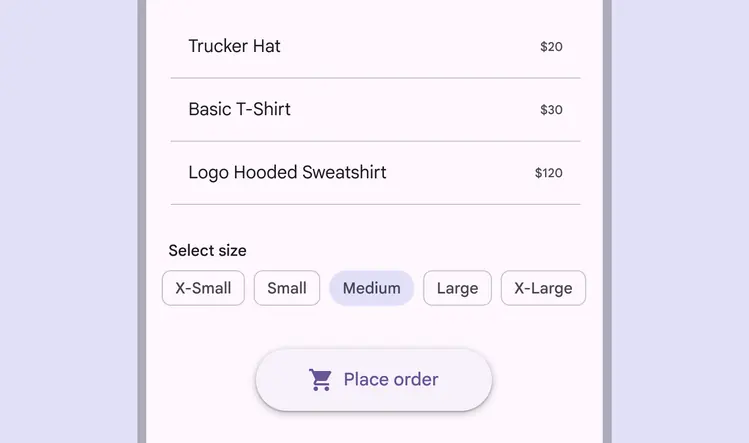
Higher elevation increases the emphasis of a button
Filled style
The filled button style has the most visual impact after the FAB, and should be used for important, final actions that complete a flow, like Save, Join now, or Confirm.
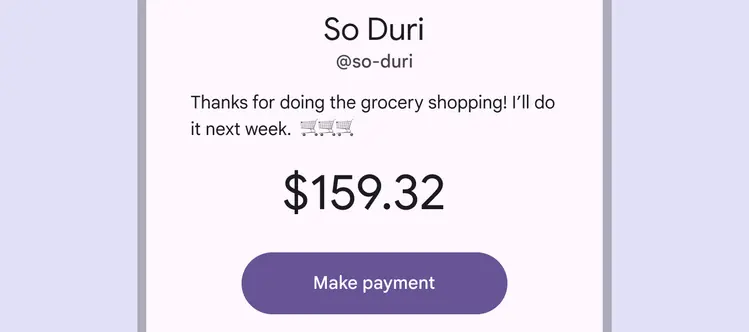
Filled buttons have high visual impact when used for important actions
Since they have such strong emphasis, the filled style should be used sparingly, ideally for only one action on a page.
In some cases, filled buttons can use tertiary colors.
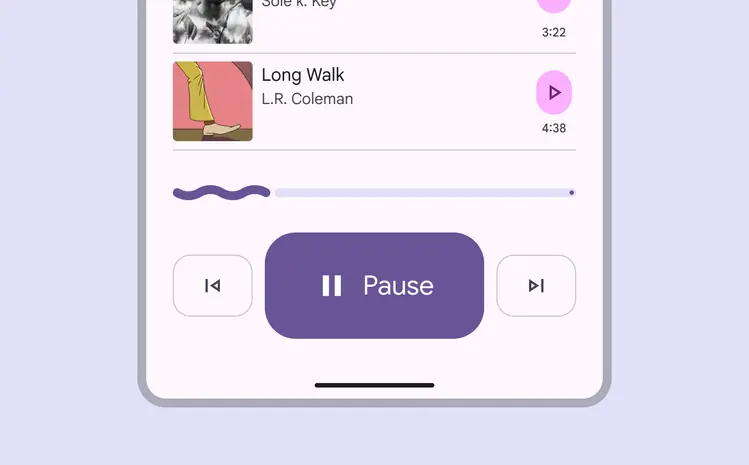
Filled buttons can be responsive to the layout grid and help emphasize main actions
Tonal style
The tonal button style is useful in contexts where a lower-priority button requires slightly more emphasis than an outline would give, such as Next in an onboarding flow. Tonal buttons use the secondary color mapping.
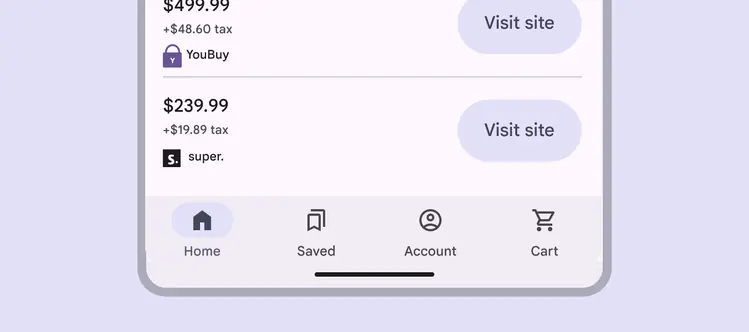
The tonal style has less emphasis than filled or emphasis
Outlined style
The outlined style is ideal for medium-emphasis buttons which contain actions that are important, but aren’t the primary action in a product.
Outlined buttons pair well with filled buttons to indicate alternative, secondary actions.
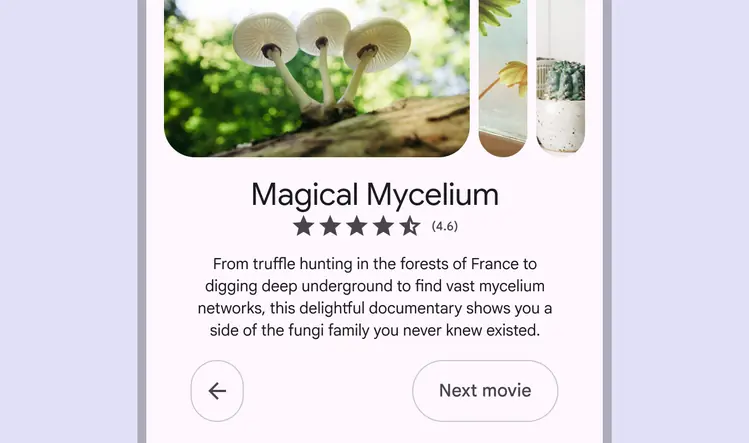
Outlined buttons contain less important supporting actions
Outlined buttons display a stroke around the button container, and have no fill by default.
They should be placed on simple backgrounds, not visually prominent backgrounds such as images or videos.
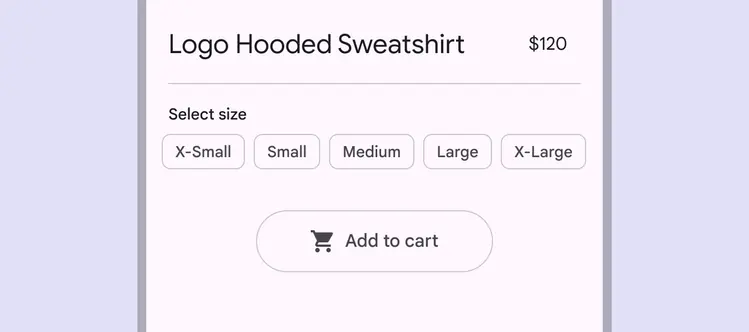
Outlined buttons display a stroke around the button container
Do
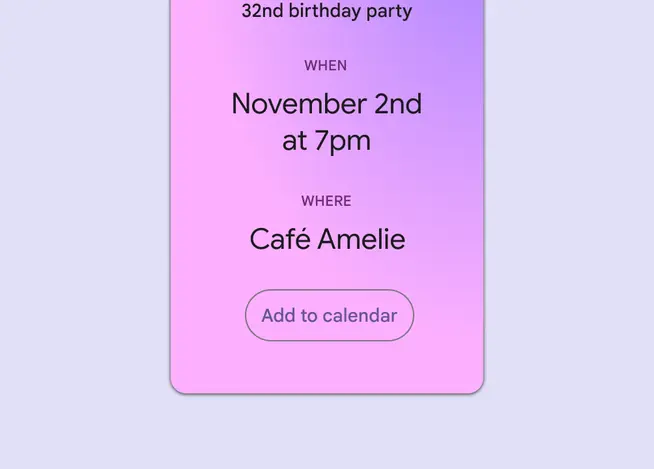
Outlined buttons can be used on backgrounds with a color gradient
Caution
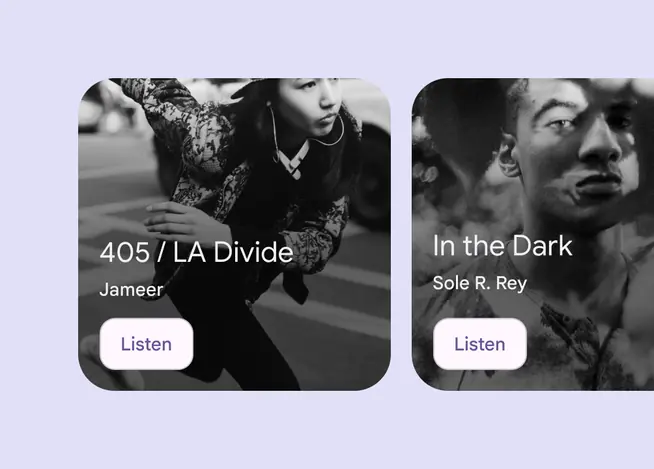
Use caution when placing outlined buttons on top of images. Customizing the button to have a contrasting container fill can help ensure legibility of label text. Or, use a filled button instead.
Text style
The text button style should be used for the lowest priority actions, especially when presenting multiple options.
They should be placed on simple backgrounds, not visually prominent backgrounds such as images or videos. The container isn’t visible until someone interacts with the button.
Don’t underline the text button. Use hyperlinked body text instead to emphasize links. More on hyperlinks
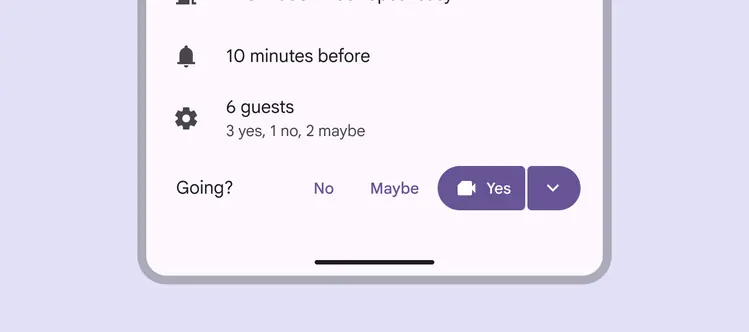
Use text buttons for the lowest priority actions
Text buttons are often placed within components such as cards, dialogs, and snackbars. Since text buttons don’t have a visible container in their default state, they don’t distract from nearby content.
However, since there’s no container, the label text color must always be recognizable from non-button text and elements.
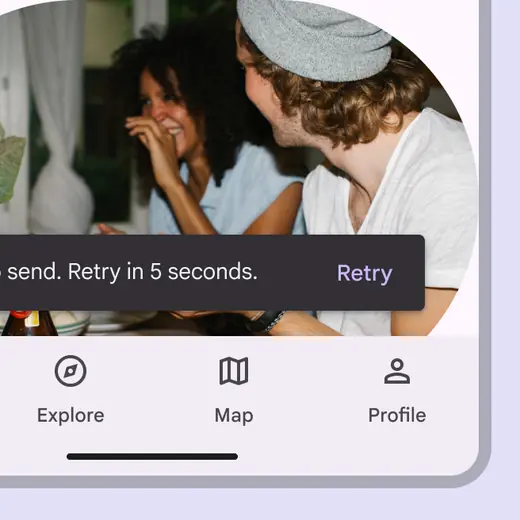
Text button in a snackbar
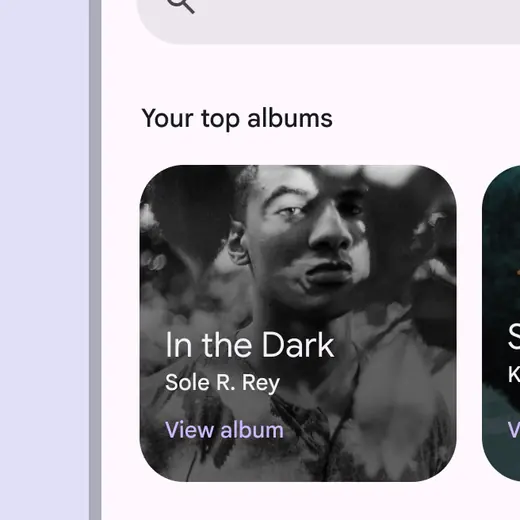
Text button against an image background
In cards, text buttons help maintain an emphasis on card content.
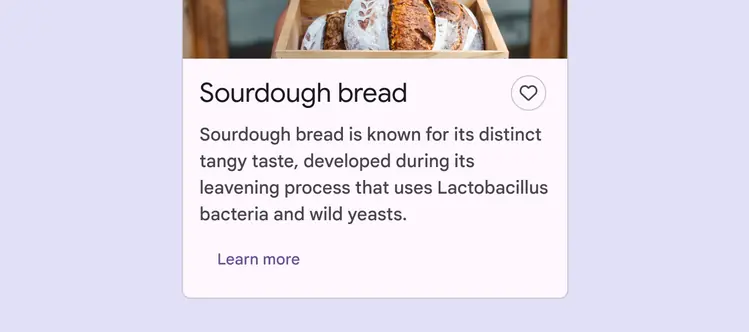
Text button in a card
Dialogs use text buttons because the absence of a container helps unify the action with the dialog text.
Align text buttons to the trailing edge of dialogs, on the right for left-to-right languages and on the left for right-to-left languages.
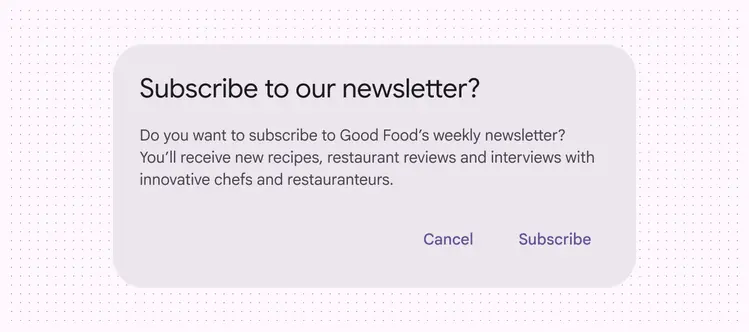
Text buttons in a dialog
Adaptive design
Resizing
When scaling layouts for large screen devices, buttons can adapt their visual presentation, size, alignment, and arrangement to fit different contexts and user needs.
Choose the best button position based on screen size.
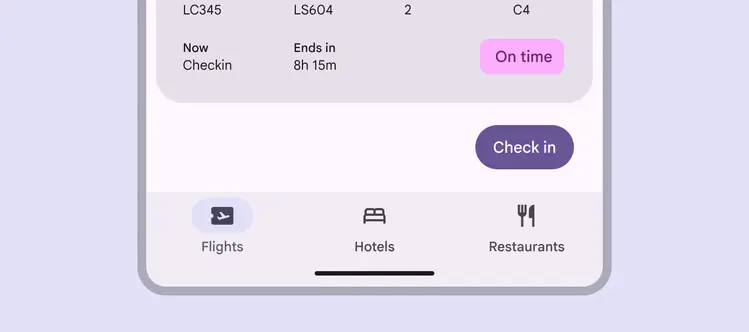
Filled buttons are end-aligned below flight information in a compact window
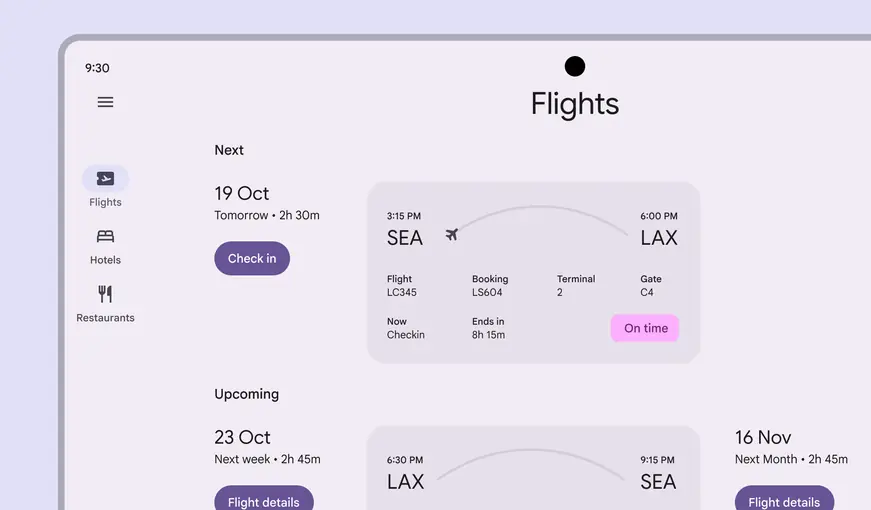
Filled buttons are start-aligned beside flight information in a large window
The icon and label text in a button stay centered and grouped as the button's width changes.
Do
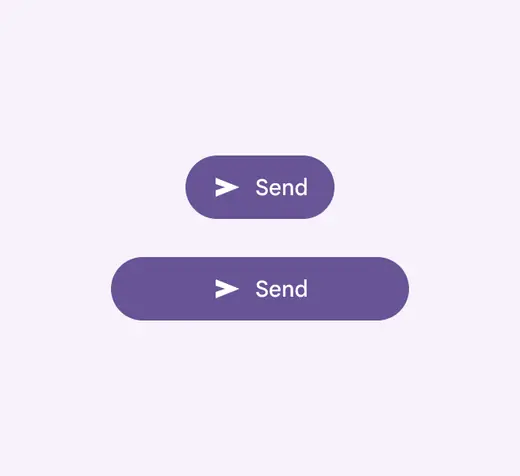
Keep the icon and label text grouped and centered
Don't
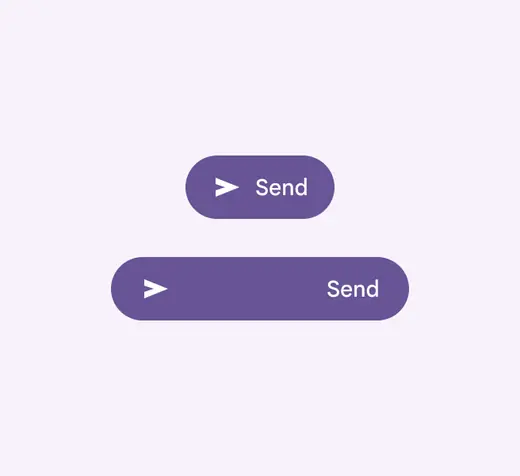
Don't ungroup the icon and label text or let them anchor to opposite sides of the button
Buttons can be customized to change size and scaling behavior across different breakpoints.
To avoid creating very long buttons in large windows, constrain button width or place buttons beside other elements.
Don't
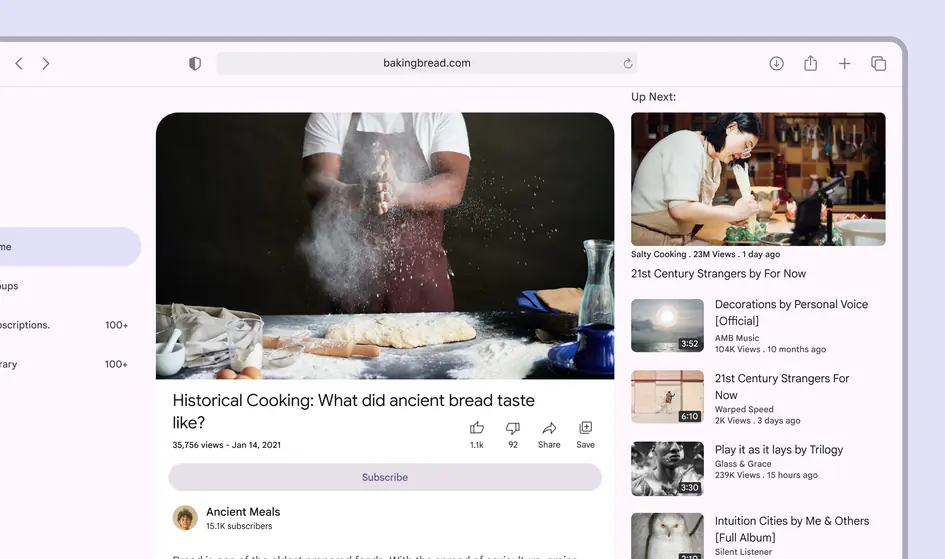
Don’t allow the button to stretch in a way that creates long, flat buttons with very little content inside
Presentation
The size and placement of buttons can change as parent containers, such as cards, adapt for larger screens.
Keep items, including buttons, in the same order between large and small screens to provide a consistent experience for screen readers and keyboard navigation.
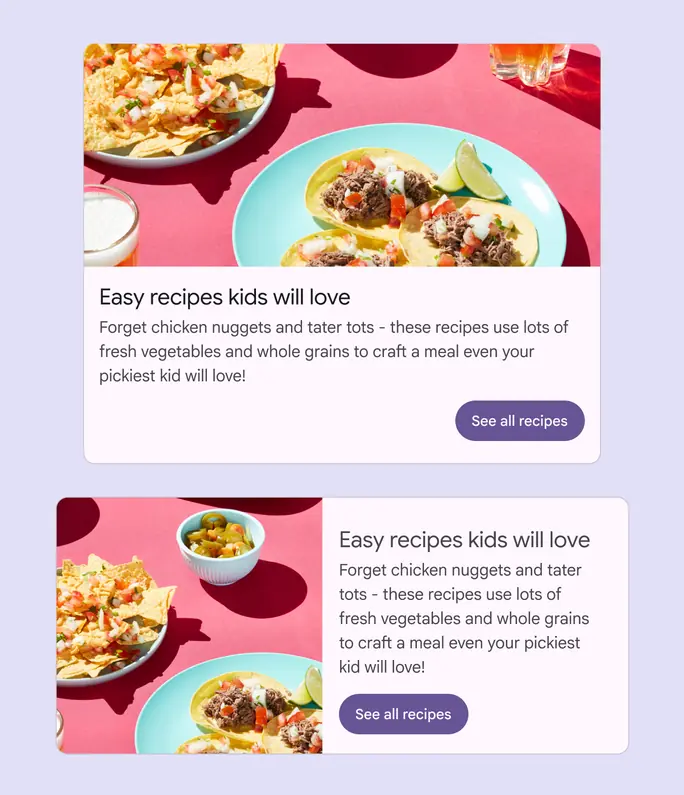
Buttons can move in the layout, but elements should remain in the same order